A template routing aid is a great tool to help you cut the shapes you need on plexiglas. This tool is great for creating intricate designs on the router. This guide will cover the most popular templates and their features. This guide will also cover Festool plunge routers, Flush-trim and patterns bits. Once you've got these handy tools, you'll be ready to get started.
Festool Plexiglas Template Routing Aid
A Plexiglas Template Routing Aid is a great option if you are considering buying a Festool Tool. The tool's benefits include dust extraction and measurement guides. These features may not be of any importance to you. You may not use it enough to justify its price. You may choose a simpler option in such situations.
Festool Plexiglas Template Guitting Aid is versatile tool that can be used as a cutting instrument to create slots, grooves, mortises, and other shapes. Two adjustable fences allow for different thicknesses, while an integrated rule allows for the creation of grooves. The Festool Plexiglas Template Routing Aid is ideal for any type of project, whether it's making a decorative window or a framed piece for your home.
Festool plunge routers
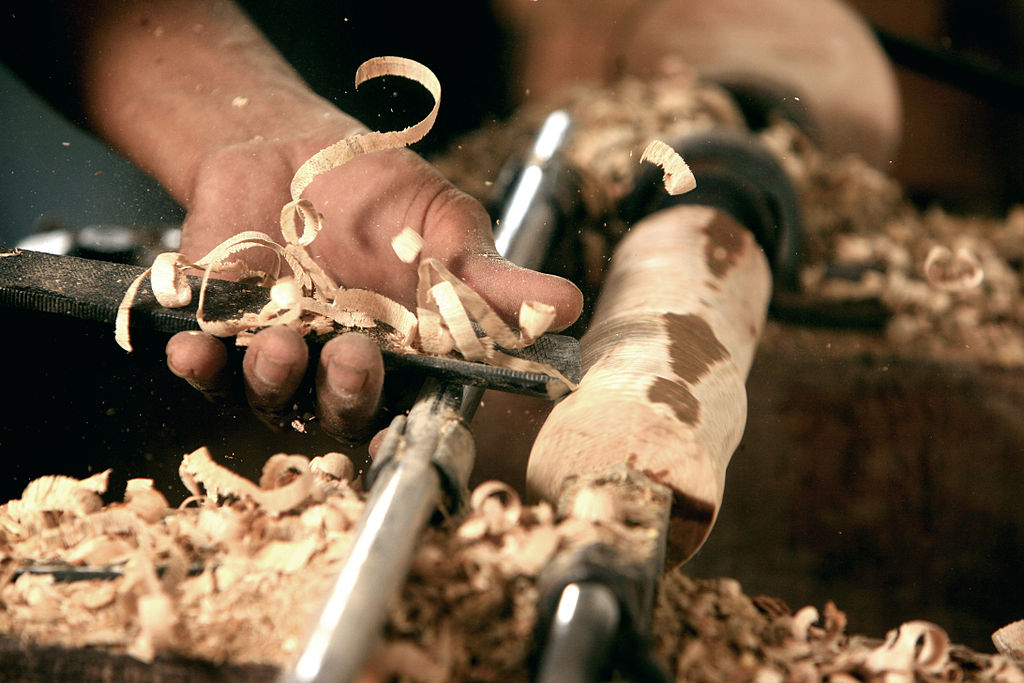
For homeowners who are looking for a tool to create templates, plunge routers are a good choice. They are easy to use, smaller in footprint and less than 10 pounds. They can be used for hardwoods like oak and maple. The plunge depth, power and angle of a plunge router can all vary. Make sure you get the right one for you. You can read the following to find out which type of plunge router is best for you.

Whether you're looking to create circles, shapes, or other patterns, a plunge router has many accessories to help you create the perfect cut. A dust collection system is required for plunge routers. This keeps debris from clogging the bit and affecting cutting quality. If attached to a template, a plunge router can be used to create perfect circles. These jigs can be used for many different projects, such as painting and sanding.
Flush-trim bits
A flush-trim tool is best if you need to cut veneers or laminas flush with your workpiece's edge. These bits feature a bearing at the base of the shank that rides along the workpiece. The bit's sheering action causes the material to flatten, leaving a clean cut. It's like a paper saw: the base material acts the same as the table, and while the down-cutting bit is a long curving blade.
Every woodworking shop must have flush-trim bits. They can be used to cut veneers, laminating, and for shelf edging. They are useful for joining straight or smooth edges. These router bits are some of the most used in our shop. You should purchase multiple bits in different sizes if you are planning to make several pieces at once. A flush-trim bit with a 1/2" diameter is a great combination.
Pattern bits
Pattern bits in template routing are a useful tool for producing repeatable patterns. They feature a ball bearing at the center that allows the template be held over the workpiece while being ridden with the router bits. They're an excellent choice for many applications. Here are some benefits to pattern bits. These bits provide greater visibility and better control of your project. These bits are also compatible with handheld routers.
Combination bits have bearings at both the shank and the tip, and thus eliminate the need for changing bits for different templates. They come in straight and compressed cutters. You can choose from flush-trimming or pattern bearings. These router bits have a smoother surface that spiral bits, but they are more costly. Combining a bit with a bearing guided template is best for the best results.
Take off on the climb

"Climb cuts" are an option if you want to make a template of wood. These are spiral-shaped methods of cutting that create precise, clean cuts along the ends grain. They can also cause wood chipping and tearout. You may not be able to correctly perform climb cuts within your template routing process. Read on for more information. Climb cuts should only be used for complex patterns.
A climb cut refers to the reverse of a regular feed. The bit rotates in an opposite direction from the feed. Instead of resisting the material, the cutter attempts to accelerate it in the same direction as the wood. The cutter could grab the work with great force and speed if this cut is not done correctly. Because the bit enters and leaves the cut face, climb cuts are necessary to reduce tearout.
Offset between router bit and template
The offset refers to the distance between the cutting edge a router bit and the guide. The offset is calculated by adding the bit diameter to the guide bushing's diameter and then multiplying by two. This table shows the typical offset values for commonly used guide-bit and router-bit combinations. Remember that offset values can vary from too large to too small. The offset in the following example will be 1/4".
The offset between router bit routing and template routing is usually approximately 1/8" (or 0.35"). It is essential because if the bit does not center properly, it will not fit within the bushing. The result is that a template may be misaligned and lopsided, making it hard to route. Adjusting the offset can fix this. For example, if your goal is to rout an mortise, adjust the offset from the template to match the profile.
FAQ
What amount of money do I need to get started with my business?
There are no exact numbers because every project is different. These are the factors that will give you an idea of how much you'll need.
-
Material cost
-
Tools and equipment
-
Time spent on the project
-
Hourly rate
-
What is your expectation for profit?
-
Hire help
It's a good idea for beginners to start with small projects like frames and boxes. You will gain more experience and be able to tackle larger projects.
How do I learn basic woodworking skills?
A great way to start learning how to build furniture is by building a simple bench for yourself. This project can be done with any kind of wood that you have at home. If you are unsure what type of wood is best, you can get cheap pine boards at Lowes (or Home Depot) instead. After you've constructed your bench you'll want sand all the rough edges off and varnish it.
How do I identify the type of wood that I am dealing with?
Always inspect the label when buying wood. The label should detail the wood species, its moisture content and whether it has been treated or not.
Can I refinish furniture that I make?
Yes! There are many different ways to refinish older furniture without the need for professional help. Here are some suggestions:
Use sandpaper for removing stains and scratches. Finally, use a clean cloth or sponge to clean the surface.
Apply clear polyurethane varnish. Allow to dry completely before moving furniture.
Acrylic paint can be used to paint furniture.
Instead of painting, use stain. The furniture will have a rich look thanks to the stain.
Shellac wax is applied. This will protect and shine the wood.
What kind of wood should you use?
Oak, maple, cherry and mahogany are the most common wood types used for woodworking. Each wood type has its own characteristics which affect the final product's appearance and feel. Oak is a darker wood and tends to be more durable than other types. Birch is lightweight and soft while mahogany is heavier and denser. You can also pick between veneers and solid wood. Veneers can be described as thin sheets of wood that have been glued together in one layer.
How do I choose the right tools for me?
It's important that you consider your needs and preferences while shopping for tools. What do you prefer: metal or plastic handles? What size screws or nails do you prefer? Are you comfortable with power tools, or would you rather use hand tools?
How do I calculate woodworking prices
It is crucial to keep project costs as low-cost as possible. Always ensure you are getting the best possible price for materials. Also, consider all other factors that can affect the price of your projects such as skill level, experience, time and cost. Check out our guide on the average cost of common DIY projects to get an idea of how much you can spend on woodwork projects.
Statistics
- Most woodworkers agree that lumber moisture needs to be under 10% for building furniture. (woodandshop.com)
- The U.S. Bureau of Labor Statistics (BLS) estimates that the number of jobs for woodworkers will decline by 4% between 2019 and 2029. (indeed.com)
- If your lumber isn't as dry as you would like when you purchase it (over 22% in Glen Huey's opinion…probably over 10-15% in my opinion), then it's a good idea to let it acclimate to your workshop for a couple of weeks. (woodandshop.com)
- The best-paid 10 percent make $76,000, while the lowest-paid 10 percent make $34,000. (zippia.com)
External Links
How To
How do you measure wood accurately?
Wood measurement can be done using several methods. We use a digital ruler (a tool to measure distances), laser level (used for leveling your work surface), and bubble level (used for levelling your work surface).
A digital caliper has two jaws that open and close. One jaw holds a measured object and the other measures distances between the points. The digital scale is perfect for measuring tiny distances such as wood thickness.
Laser levels have an infrared light beam that projects a line across the floor. The laser emits a red dot on the line. The line can be viewed down to determine if the surface has an even surface. Laser levels are ideal for checking the accuracy on large surfaces.
Bubble levels look similar to a compass. There is a bubble at the center of this device. As long as the bubble remains centered, the device can tell you if the surface has been leveled. The bubble levels can be used to check the accuracy of smaller areas.