
Lora S. Irish has been an internationally recognized artist. She is also the author of several books on carving, such as The Great Book of Carving Patterns. Woodcarving Illustrated and Scroll Saw Woodworking and Crafts both feature her. In this article, we'll introduce you to her latest collection of scroll saw patterns, North American Wildlife Patterns for the Scroll Saw. Irish also has many other publications, such as the popular blog Lora S. Irish Scroll Saw Woodworking.
Lora S. Irish is an internationally known artist
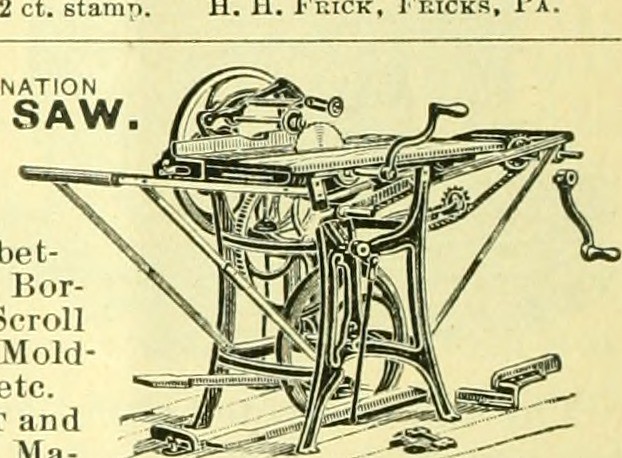
If you love animals and nature, then you'll love these wildlife patterns for scroll saw. They are easy to follow with black-filled images showing the cuts. While many of these designs are great for decorating walls, there are plenty of practical uses as well. They can be used to add interest to shelf braces or decorate top doors frames.
The scroll saw patterns included in this book were created to showcase wildlife from around world. There are more than 50 unique line patterns for you to choose from. The patterns are easy and include basic cut instructions. Each pattern has several simple instructions to help you get started, including a six-page gallery of finished designs. You can scroll through the instructions and make sure you read them carefully.
She is also the author North American Wildlife Patterns For the Scroll Saw.
This book features 61 beautiful designs for the scroll saw. These patterns provide clear, step-by–step instructions and simple-to-follow lines to cut. The book ships directly from its manufacturer. While you can make a copy of the book for personal use only, you are not allowed to duplicate the pattern for distribution or resale. However, you can photocopy or scan the patterns to use on other machines.
Lora S., an internationally acclaimed artist, has written this book. This book contains 61 patterns that include birds, dragons, bears and deer. This guide provides detailed instructions for choosing blades as well as making both inside and exterior cuts. The guide also includes tips on how to modify the patterns to suit your needs. Irish's artistic works span several mediums, including wood carving, and are well-known for their intricate relief carving patterns. She is highly recommended by scroll saw enthusiasts as her books have been featured in many magazines.
FAQ
How can a woodworker start making money?
Many people learn how to make furniture in order to set up an online business. You don't have to sell on Etsy if your furniture is just beginning. Local craft fairs and events are great places to sell your products. Or you could offer workshops for others who want to learn how to build their own furniture. You might be able to offer services like remodeling homes or making custom pieces for clients if you are a skilled carpenter.
Where do you start when it comes to woodworking?
Building furniture is the best way to learn how furniture is made. Although you will need to have tools and may make mistakes along your journey, you'll soon be able to master it.
Choose a project that interests you. It can be as simple as a small box, or as complex as a complete entertainment center. Once you have settled on a specific project, it is time to find a woodworker in your area who is experienced in such work. Ask your local woodworker to help you determine the right tools for you and where they are located. Perhaps you could ask if there is someone else who does this type of work.
What's the difference between a hobbyist and a professional woodworker?
Hobbyists are passionate about making things from wood, while professionals tend to be more focused on the quality and craftsmanship of their work. Hobbyists usually take pride in their creations and often share them with friends and family. Professionals will spend hours looking at designs before they start to build a project. Professionals will be meticulous about all aspects of their work, from selecting the right materials to finishing it.
What type of tools does a carpenter use?
The most common tool used by carpenters is a hammer. A hammer can be used to drive nails into wood. A hammer is used to hold pieces together during a project. Other tools include clamps. pliers. screwdrivers. measuring tape. pencils. saws. drills. wrenches.
Statistics
- Average lumber prices rose about 600 percent between April 2020 and May 2021. (familyhandyman.com)
- The best-paid 10 percent make $76,000, while the lowest-paid 10 percent make $34,000. (zippia.com)
- Woodworkers on the lower end of that spectrum, the bottom 10% to be exact, make roughly $24,000 a year, while the top 10% makes $108,000. (zippia.com)
- The U.S. Bureau of Labor Statistics (BLS) estimates that the number of jobs for woodworkers will decline by 4% between 2019 and 2029. (indeed.com)
External Links
How To
How to stain wood
Staining wood refers to applying chemicals to wood's surface. This chemical reaction causes the wood to change in color. This chemical reaction changes the wood's color from white to brownish. The most common type of wood used for staining is oak, although many other types of wood can be stained.
There are several ways to apply stains to wood surfaces. Some methods involve mixing the stain with a solvent (such as turpentine) and then brushing or spraying the mixture onto the wood. You can also apply a solution containing water and dye directly to the wooden surface. It is possible to mix stain into varnishes and paints, making it part of the finishing coat.
Preparing the wood surface is the first step to staining it. Cleaning the wood thoroughly removes any dirt or grease that could interfere with applying the stain. Sanding the wood removes scratches and imperfections. The next step is to choose the stain type you want. Penetrating stains are different from non-penetrating. Penetrating and non-penetrating wood stains penetrate deeper than other types, making them perfect for dark colors like mahogany. Light colors such as maple work well with non-penetrating stain.
After you've decided what type of stain to apply, get ready for your tools. Paintbrushes are great for applying stain because they allow you to evenly spread the liquid across the surface. After you're done painting, make sure to have some rags handy to remove any excess stain. If you are planning to mix your stain, ensure you have enough containers for each component.
Once you have prepared all your materials, it is time to clean the areas where you will stain the wood. To remove dirt and dust, use warm water and soap. You can wipe down the entire furniture using a damp rag with clean water. Take care to remove all debris and dirt, especially if you are planning on staining darker wood.
Next, spray the stain. Begin at one end and spray or brush the stain on the wood. Slowly and carefully move along the grain of wood, slowly but steadily, until you reach the other end. Keep the stain from dripping off the wood's surface. Before you proceed with the next steps, let the stain dry completely.
To protect the painted surface, apply a coat of clear polyurethane sealant. Three coats of polyurethane sealing agent are required. Allow the third coat to dry overnight before sanding the final coat.