
Good finishes are crucial for woodworking. The key to a successful woodworking project is using the right tools. Wooden objects can be finished to give them a shiny finish and protection. There are many different 'finish' options available. Learn more about different types of finish' to help you choose the right one for the job. Here are some tips that will help you in your woodworking projects.
Drills
Woodworking basics drills can be used in many ways. These handy tools can be used to drive screws and make wood plugs. Some have an adjustable clutch which can be used to stop drilling when torque is reached. Other uses include drum-sanding and grinding, and stirring paint. Consider investing in one of these tools, especially if you're just getting started with woodworking. They will help you save time and money as well as get you started.

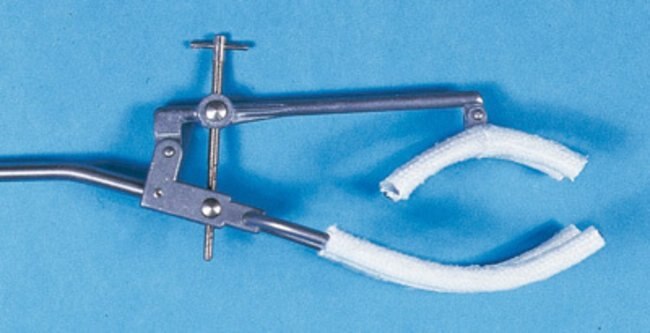
Clamps
Clamps are used for many different purposes if you're new in woodworking. What is a clamp? How do you use it? To make sure they work well, you should be mindful of these things. First, you need to maintain the clamps you've used to maximize their life. It means cleaning them and drying them often. You should also periodically oil wooden clamps and metal clamps, depending on their material. Finally, always store your clamps in a safe place, preferably in your garage or shed, to avoid accidents.
Smoothing planes
A smoothing plan is the last step in woodworking. It can be used to smoothen minor bumps and give the surface an almost flawless appearance. Smoothing planes are typically 8 to 10 inches long and made from European beech hardwood with a durable hornbeam sole. There are many types of smoothing plans available. Read on to find out which plane is right.
Glue
There are many kinds and types of wood glue. Over the years, you've developed techniques that allow you to work with less than desirable qualities. Sometimes your preferred glue may not be able to bond your project. If this happens, you can turn to your local home centers or catalogs to look for a substitute brand. Here are some suggestions to help you find the best wood glue for your job.
Woodturning
Here are some basics to help you get started with woodturning. First, you must wear safety gear. Work in a woodshop requires you to wear leather steel-toe boots. The lumber must also be inspected. A piece of wood damaged in any way can cause serious injury. You should also make sure you have the right wood turning tools.
Scroll down
The use of scroll saws in woodworking can be traced back to the early days of civilization. The first scroll saws were large, reaching up to 10 feet high, and they operated by pedal or foot. Scroll saws were later made smaller and more portable, but they all functioned in the same manner. The scroll saw eventually evolved into the modern scrollsaw. Scroll saws are an excellent choice for woodworkers who wish to create art pieces.
FAQ
Are you looking for tips to start a woodworking company?
It's not easy to start your own woodworking business. However, if you are passionate about your hobby you will be willing to put in the effort. You'll likely enjoy the challenge of owning your business.
You should remember that unexpected issues may occur when you launch a new venture. Unexpectedly, money might run out. Or maybe you'll find that customers aren't willing to pay as much as you'd hoped. These situations are necessary for survival.
One tip is to have a separate banking account for your company. This way, you'll always know exactly how much money you have coming in.
How much should a woodworker charge per hour?
The hourly rate of a professional woodworker depends on many factors including experience, skill level, availability, location, etc.
A skilled woodworker can expect an hourly rate of $20-50.
A less skilled woodworker might charge as low as $10 per hour.
Do I need to be a genius to succeed in woodworking?
No. Woodworking does not require any special skills. You can create beautiful pieces of art by learning how to use simple power tools.
How can my shop be organized?
To keep your workshop tidy and organized, you should first create a place for tools storage. Make sure your tools are clean and free of debris and dust so they can be used properly. Use pegboard hooks to hang tools and accessories.
Statistics
- The U.S. Bureau of Labor Statistics (BLS) estimates that the number of jobs for woodworkers will decline by 4% between 2019 and 2029. (indeed.com)
- If your lumber isn't as dry as you would like when you purchase it (over 22% in Glen Huey's opinion…probably over 10-15% in my opinion), then it's a good idea to let it acclimate to your workshop for a couple of weeks. (woodandshop.com)
- The best-paid 10 percent make $76,000, while the lowest-paid 10 percent make $34,000. (zippia.com)
- Overall employment of woodworkers is projected to grow 8 percent from 2020 to 2030, about as fast as the average for all occupations. (bls.gov)
External Links
How To
How to join wood without using nails
Many people love woodworking. You can make useful items from wood with your hands, which is both relaxing and fun. Sometimes you may want to join two pieces together of wood without using nails. This article will teach you how to do this to keep your woodwork projects looking great.
The first thing you'll need to do is cut off any rough edges from your pieces of wood before joining them together. Sharp corners can cause problems down the line. Once you've done this, you're ready to start gluing your boards together.
If you are working with hardwood, only one side should be glue. For softwoods like cedar and pine, glue should be applied to both sides. Apply the glue to the boards and press them down until they are securely attached. Before you proceed to the next step, be sure to let the glue dry completely.
After you have glued your boards, drill holes where you want to insert screws. Depending on the type of screw that you use, the size of these holes will vary. For example, if you're going to use a 1/2-inch wood screw, then you should drill a hole that is at least 3/4 inches deep.
Once you have drilled your holes you will need to drive the screws through each joint and into the backside. Do not hit the boards' front surfaces. It will ruin the finish. Try to not hit the ends of the screws when driving the screws. This will prevent splitting the wood's end grain.
After your project is completed, you will need to protect it from the weather. You have two options: seal the whole furniture piece or just the top. You want it to last years, so you can use any product. Oil-based varnishes are, among others, polyurethanes shellac, laquer, and other oil-based products.
These products can usually be found at any home improvement store. Make sure you get the right product for your job. Remember that some finishes can be toxic, so you should not use them indoors. Always wear protective gear when handling any of these finishes.