
To make your table saw work properly, there are many tips and tricks you can use. Push sticks, maintaining the fence aligned and making sure your blade is at an appropriate depth are some of the tricks you can use with your table saw. Other tips are based on experience and will improve your cutting results. Continue reading to learn more. Also, don't forget to practice! You'll soon be a pro at cutting after reading this article! It doesn't matter what type of material you use to cut, you'll be amazed how many you have never used!
Push sticks
Push sticks are a great way to improve safety while working with a table saw. Store-bought push sticks can be made of hard plastic which can crack and fracture when the blade strikes them. Choose a nylon or ABS plastic-filled one. Avoid aluminum push sticks as they can throw flak back at you when they hit the blade. You should instead buy one that is at most 1/4 inch thick.
Blade depth
Use a tablesaw to measure the depth of the blade in millimeters. This measurement is not required. The CPSC staff reviewed data and concluded this voluntary standard has no impact on table saw safety. The following are important points to consider when choosing table saws. The blade depth should not go below the skin's surface. In addition to the blade depth, the other dimensions of the blade should be considered as well, such as the length and width of the saw.
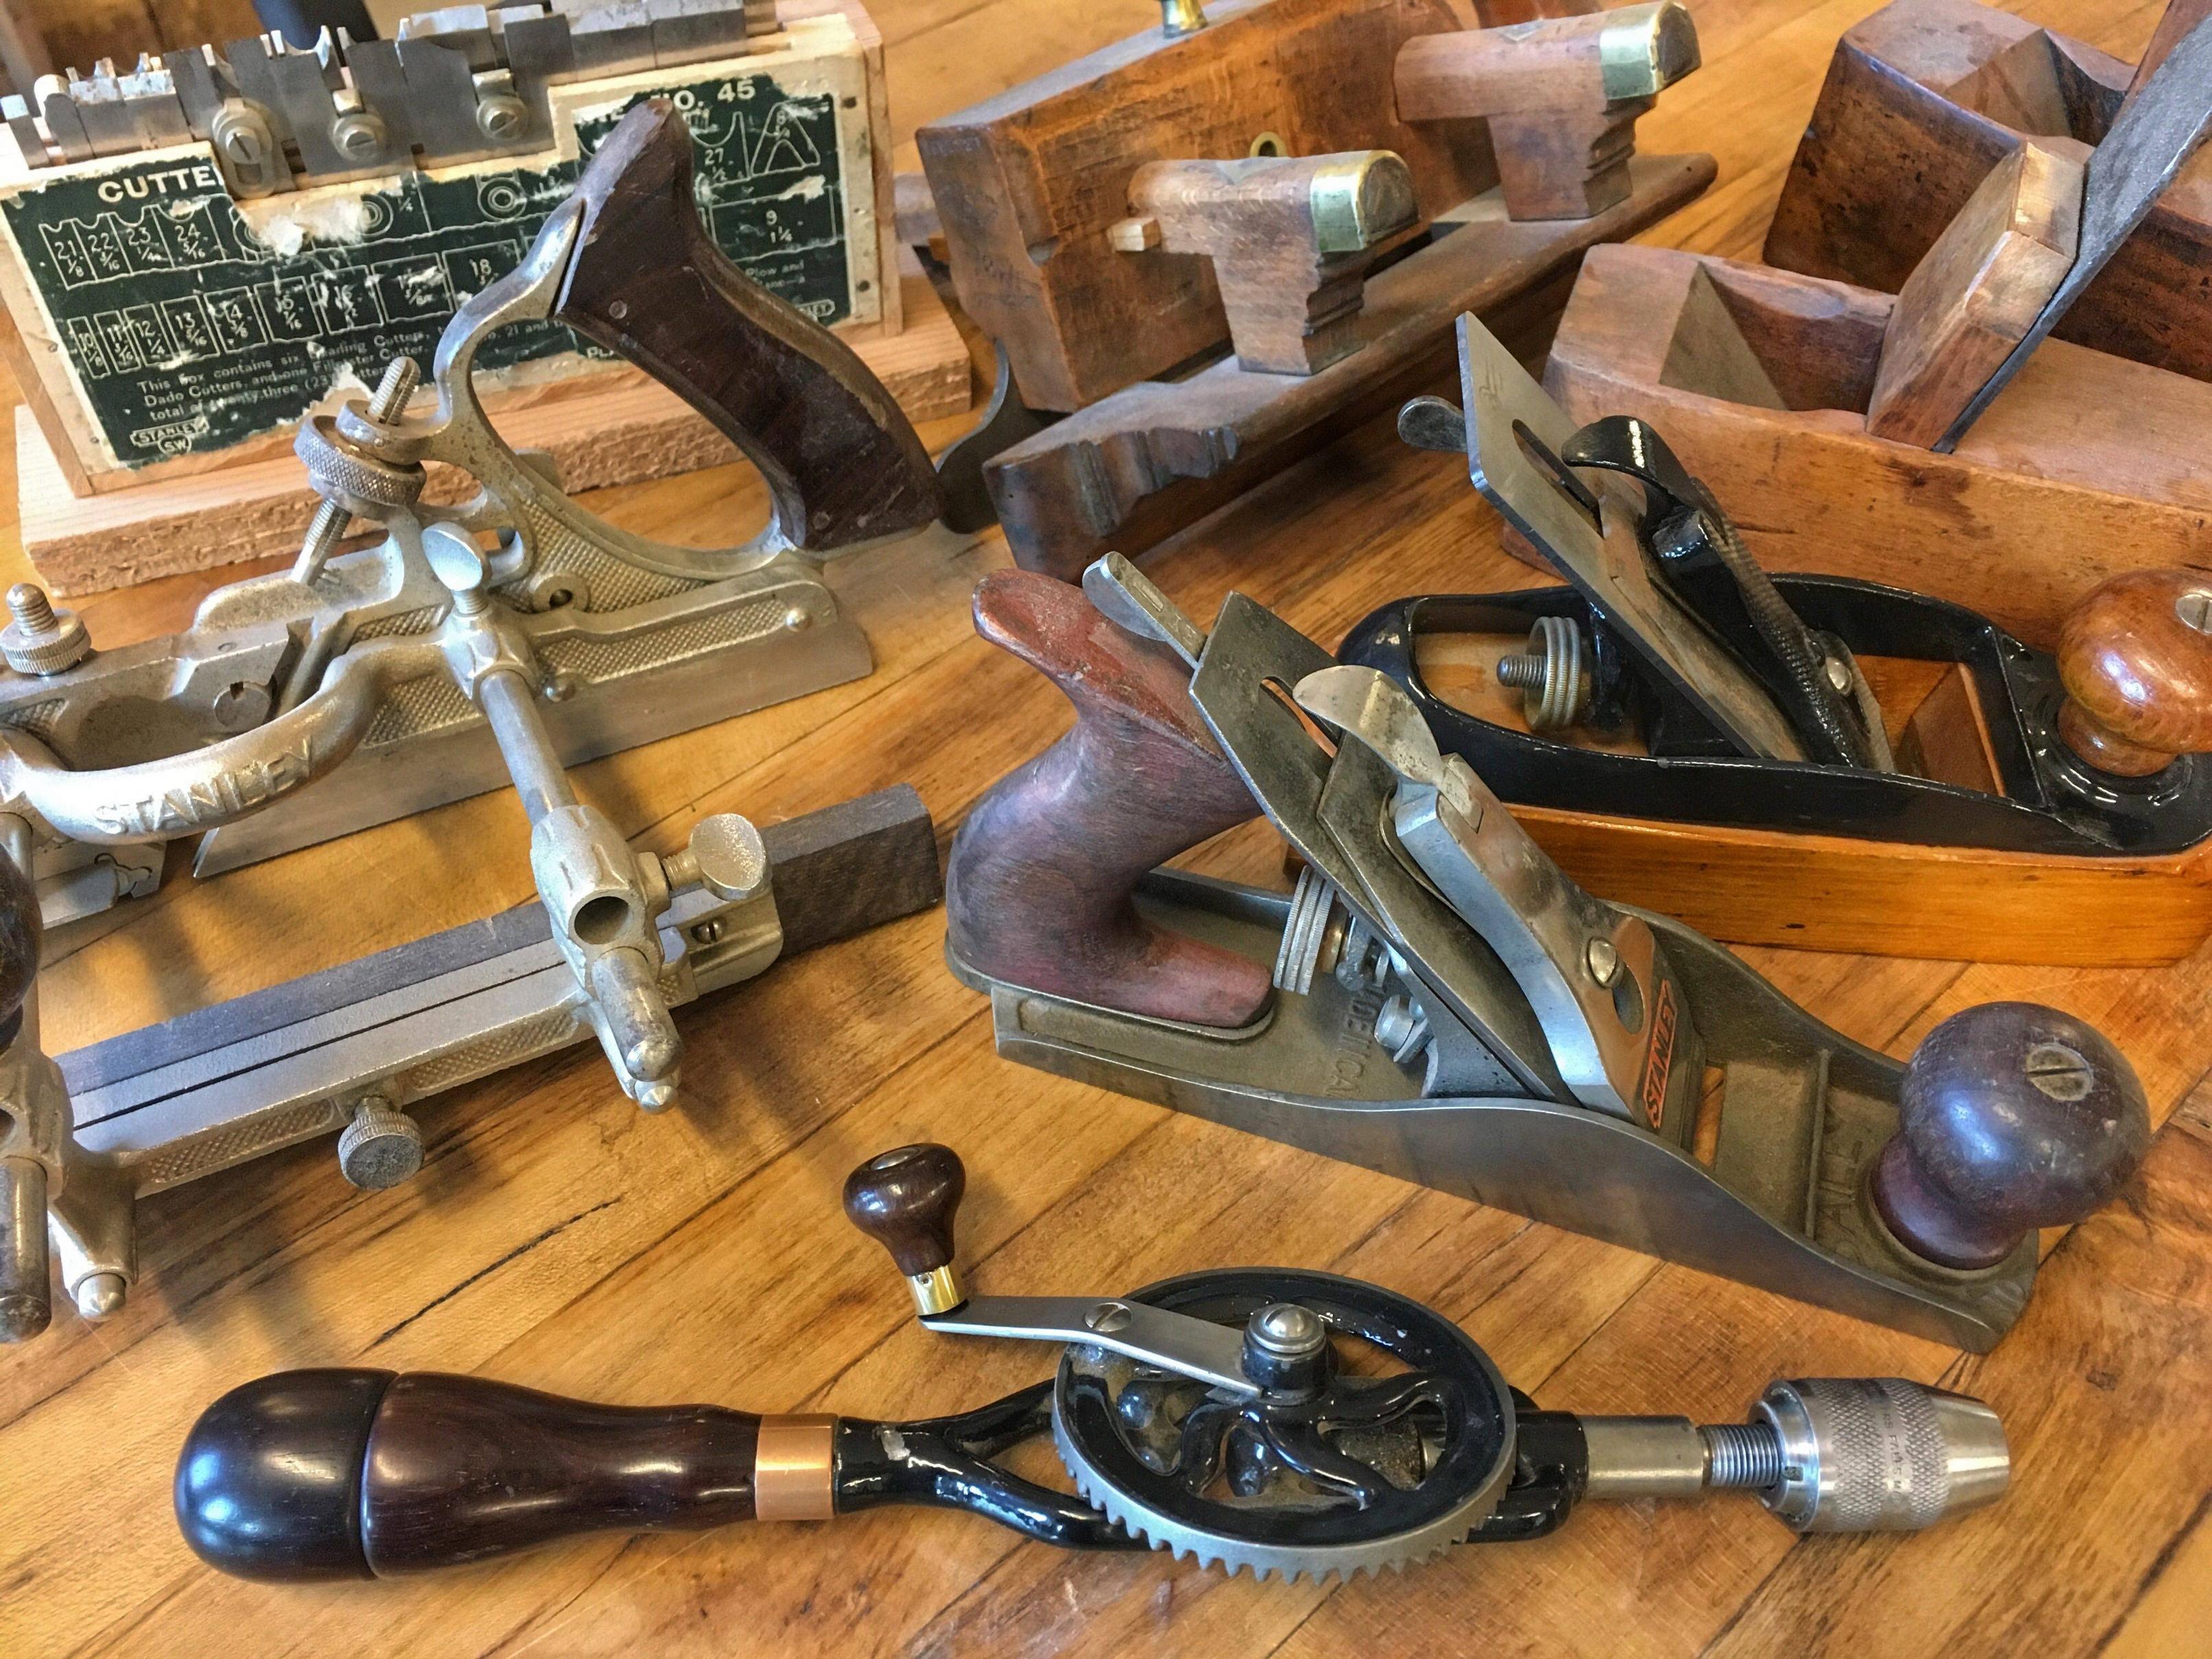
Fence alignment
When using a table saw, it is important to check the fence alignment periodically. It is essential that the fence is within 15% to 20% of the blade's thickness. Therefore, it is crucial to regularly align your tablesaw's fence. Aligning your table saw's fence properly is essential for obtaining great cuts. To do this, you can use a scrap piece of wood, feeler gauges, or a solid measuring tool. Simply bring the fence to within a few inches of the blade, then use a feeler gauge to measure it. To make sure it's aligned correctly, place a feeler gauge along the blade's teeth and measure its distance.
Bridle joints
Bridle joints are a versatile way to create joinery, and they are used in many different types of woodworking projects. A bridle joint has many advantages, including strength, ease-of-machining, and a finished appearance. This joinery is rarely used for furniture. Another example of this is the mortise and tenon joint. You must first create a mortise and tenon joint from one piece of wooden lumber. Once you've created the tenoning joint, you're ready to glue the two pieces together.
Outfeed jig
Whether you're starting out on a DIY project or modifying your current table saw, outfeed jig tables can be a great way to increase the flexibility of your workspace. A miter slot can be made into the table stand's outfeed to make an outfeed jig table. Next, install an outfeed tool on it to adjust your table saw's height.
Blade guard
Here are a few Blade Guard table saw tricks to keep your fingers safe while cutting wood. First of all, visualize the trajectory of the cut. To avoid kickback, don't place your hand in an unnatural position. This could cause the blade to grab the piece before you are done cutting. Another technique is to use crosscutting, which allows you to prevent the workpiece from getting stuck and bind against the blade. Make sure to practice this technique often so that you are always a step ahead of the wood.
Dust collection
There are many options to collect dust from table saws. Dust collection is crucial, whether you're building a cabinet or completing a home remodel. Make sure you have a dust collector that is compatible with your tablesaw's dust port. These systems collect the majority of sawdust that is produced during work and keep your workspace clean and safe. Table saw dust collection systems, unlike regular vacuum cleaners, are made of heavy-duty fabric with a strong zipper. The best tablesaw dust collector bags will catch up to 70% dust from the machine.
FAQ
Do you know anything more about woodworking?
It is easy for people to overlook the work involved in furniture making. Finding the right type of wood is the most difficult aspect of this process. There are so many varieties of wood available that choosing one can be difficult.
A problem is that wood doesn't have the same properties. Some woods will warp and others will split or crack. These are important considerations to make before you purchase wood.
What is the difference of plywood and particleboard?
Plywood is a combination of layers of wood, which are then pressed together under high pressure. Plywood is available in a variety of thicknesses. It is often used to make cabinets or flooring. Particle board is made of sawdust and resin that has been compressed into large blocks. It is used primarily for home improvements. Both types are sturdy and easy to cut.
How long does it take you to finish a piece?
It all depends on how large the furniture is. Boxes and picture frames are small projects that can be completed in one day. Larger projects, such as desks and dining tables, can take several days. It takes time and effort to properly stain the wood.
Where can you find free woodworking blueprints?
Free woodworking plans are available online. You don't even need to buy books or magazines. Just search Google. Search Google for "free woodworking" to see hundreds of sites that provide free plans.
Are you a genius in order to master woodworking?
No. Woodworking is not rocket science. Anyone can learn to use basic powertools and techniques to create beautiful work of art.
Statistics
- Woodworkers on the lower end of that spectrum, the bottom 10% to be exact, make roughly $24,000 a year, while the top 10% makes $108,000. (zippia.com)
- Average lumber prices rose about 600 percent between April 2020 and May 2021. (familyhandyman.com)
- In 2014, there were just over 237,000 jobs for all woodworkers, with other wood product manufacturing employing 23 percent; wood kitchen cabinets and countertop manufacturing employing 21 percent. (theartcareerproject.com)
- Most woodworkers agree that lumber moisture needs to be under 10% for building furniture. (woodandshop.com)
External Links
How To
How to make wood joints
This tutorial will show how to join 2 pieces of wood together. We will be using the "pocket-hole joint", which involves drilling holes in wood and then gluing them together. This method works great if your wood is straight and smooth. Dowel joinery might be a better option if your wood is not straight or flat. These are the steps
-
Drill Pocket Hole Joints. You will need to measure and mark the exact location of your pocket hole joint. Next, drill 3/4 inch holes in each end of each piece using a handheld drilling machine or jigsaw.
-
Sand Smooth. The wood's edges can be sanded to prevent splitting.
-
Glue together. Apply glue to both ends of the wood. Let the wood sit for 5 minutes, then clamp it together.
-
Attach the Pieces together. Once the glue has dried, clamp the pieces together so they are flush.
-
Trim Joinery. Trimming the joinery after glue has completely dried.
Make sure to leave enough room between the pieces so that you can turn them inside and out.