
A trimming router is a small router that can be used for edge trimming. These routers are also useful for creating signs and drilling holes. These devices may not accept bits that are smaller in size than the baseplate. A router bit that is larger than the baseplate may not work in such cases. This article will explain the various uses of a trimming machine. After reading this article, you will be able to choose the right type of router for your specific needs.
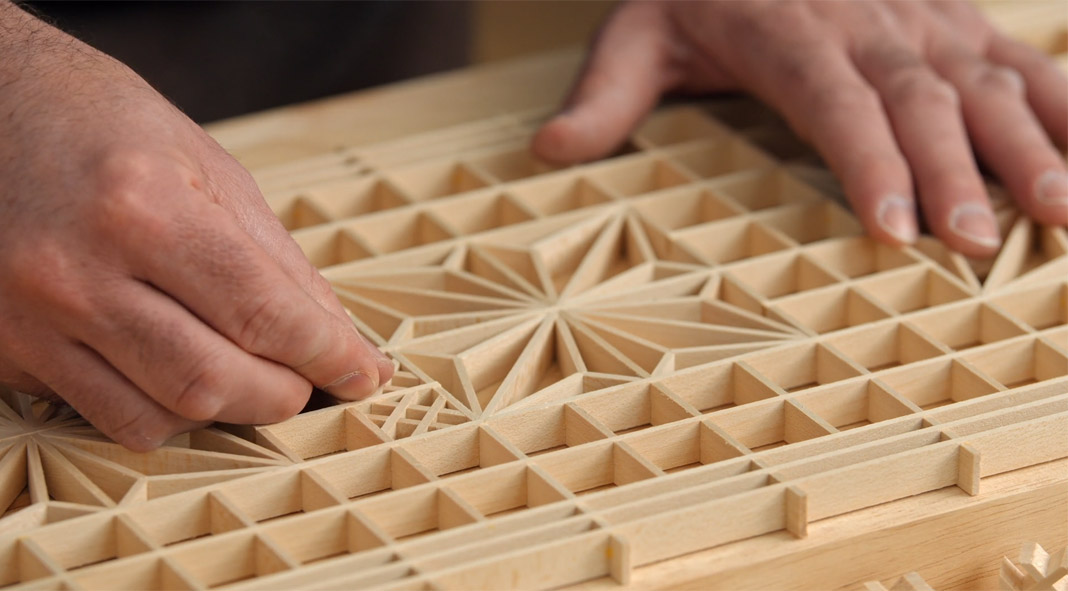
Trim routers are miniature versions of regular routers
There are two types to trim routers: straight or plunge. Both are suitable for light-duty jobs, but straight routers can be more difficult to use than plunge routers. Plunge routers require two hands to operate and are heavier than trim routings. The motor in the plunge router can withstand heavy materials and is strong enough. The motor of the plunger router is stronger and larger than trim routers. A plunge router is also harder to maneuver than a trim router, which is why plunge routers are often more expensive.
They can handle a small profile bit for edge trimming
There are two main types of trim bits: double and single rounding. A single rounding of bits creates a small profile. Double rounding of bits cuts the top edge and bottom simultaneously. Double rounding over bits gives the project a decorative edge, while single rounding over bits keeps the project's finish. Double rounding bits can be more costly than single rounding them over, but you need to make sure that the one you select is right for you.

They can be used to drill holes
The footprint of trimming routers is small, which makes them great for smaller boxes and narrow apron sizes. The router includes a cutting blade with a solid carbide polishing tip. They are also capable of drilling holes. To drill a hole in veneer surfaces, you can use a template to drill the pin. If you have no template for drilling a hole, you can insert the router's 1/4-inch up-cutting spiral blade.
They can also be used to make signs
You have many options for creating custom signage. To create your signage, you can use different types or paper. You can create a professional-looking sign by using glossy photo paper. Photo paper is versatile and can be used to print different kinds of photos. It is also able to adhere to various surfaces, so it is not as difficult as you may think to use this material for your signage. However, you need to be careful about the type of material that you choose, as it tends to warp if exposed to harsh temperatures.
They can be used in mortise making
If you have a woodworking router, you may be interested in using one for mortises. This tool offers many functions such as making mortises, turning tenons, or other types cut. This tool allows you to make any shape you want by simply using a template. For example, a piece of furniture may have round corners on the top and bottom, an ornamental cut on the bottom, and an inverted "D" shape at the top. In this case, you could cut straight lines at the top edge. At the ends of the "D", curve sections can be made.
They can be used in groove-making
Routers, which are handheld machines that use an instrument to cut grooves, are called routers. Different kinds of router bits are used for different purposes, including cutting decorative V-grooves, cutting straight grooves, and joining wood. Hardware stores can sell router bits in either sets or separately. You can choose one of the options using the menu at top of the tool. The following are some common ways to use a router.
These can be used in chamfers
Chamfers create beveled surfaces by adding or subtracting flat sections along the edges of shapes. This process can be used on one or multiple edges. To create a Chamfer, you first need to select one edge, then the offset. You can then specify both the distance and the angle between the two edges. SolidFace offers the ability to chamfer an edge by pointing to either a straight or reference line. You can then see the chamfer before you start to machine the part.
They can be used in trimming laminate edges
PVA glue, or another suitable adhesive, can be used to trim the edges. You can remove old glue residue with rubbing alcohol, or a damp paper towel. Then, apply the new glue to the laminate board using long, smooth strokes. It will take twenty minutes for glue to set and become beads. Next, lift the laminate carefully onto its new location. Continue the process, if necessary.
FAQ
Do I have to refinish my furniture?
Yes! Yes! There are many methods to refinish antique furniture without hiring a professional. Here are some examples:
Sandpaper can be used to remove stains and scratches. Use a clean cloth to wipe the surface.
Use clear polyurethane varnish. Allow to dry completely before moving furniture.
Use acrylic paint to paint furniture.
Instead of using paint, stain is a better choice. The furniture will have a rich look thanks to the stain.
Use shellac wax. The wax will add shine to the wood and protect it.
What material would your recommendation be to learn woodworking?
Start with softwood like pine, poplar and ash. You will feel more comfortable with these softwoods, so you can move onto hardwood.
How do I know what tools are best suited for me?
It's important to consider your preferences and needs when buying tools. Are you more comfortable with plastic or metal handles? What size screws or nails do you prefer? Are you comfortable with power tools, or would you rather use hand tools?
Where can you buy hardwood lumber?
Home Depot offers hardwood lumber. You will find a range of wood products available at Home Depot.
There is also a wide selection of engineered hardwoods, including Ipe (Araucaria Angustifolia), Brazilian Cherry(Pau d'Arco), Mahogany (Swietenia Mcrophylla).
These woods can also be purchased online by simply searching Google for "hardwood timber"
How do I know what type of wood I'm dealing with?
Always read the label when purchasing wood. The label should contain information about the wood species, its moisture content, and whether it has been treated with preservatives.
You can learn how to woodwork.
You can learn everything best by doing. Woodworking takes practice, skill, patience and experience. Every craft takes practice and patience.
Learning how to do something is best done by doing it. Start small and learn from your mistakes.
Statistics
- Most woodworkers agree that lumber moisture needs to be under 10% for building furniture. (woodandshop.com)
- If your lumber isn't as dry as you would like when you purchase it (over 22% in Glen Huey's opinion…probably over 10-15% in my opinion), then it's a good idea to let it acclimate to your workshop for a couple of weeks. (woodandshop.com)
- In 2014, there were just over 237,000 jobs for all woodworkers, with other wood product manufacturing employing 23 percent; wood kitchen cabinets and countertop manufacturing employing 21 percent. (theartcareerproject.com)
- Average lumber prices rose about 600 percent between April 2020 and May 2021. (familyhandyman.com)
External Links
How To
How to drive a nails in wood
When driving a nail into wood, it is important to first choose the correct size and kind of hammer. The most common types of hammers are claw hammers, sledgehammers, mallets, ball peen hammers, and hatchets. Each type of hammer has its pros and cons. A claw hammer is best for hitting nails or hard objects. However, it can be difficult to pinpoint exactly where the blow will land. Although a sledgehammer can be used to hit large areas quickly, it is too heavy to be useful for small tasks.
After selecting the right hammer, you will need to place your hand flat against one side of the head. The handle should rest comfortably in your hands. Grip the handle firmly, but don't squeeze it so tightly that you hurt yourself. Keep your wrist relaxed and the hammer straight up. Next, swing the hammer toward the ground and aim for the nail's center. You should feel the impact of your hammer hitting the nail. Practice swinging your hammer on a block of wooden until you feel comfortable.
Hold the hammer near your body until you're ready for the nail to be driven. The nail should be perpendicular to wood's surface. Your eyes should be focused on the nail's tip. Then, swing the hammer forward. Next, follow the motion of your hammerhead. This can be repeated several times to increase the speed of your swing. Once you've mastered the technique, try adding power to your swings. To make it more powerful, hold the hammer up high to your shoulder and then bring it down. This will help you put more energy behind each of your moves.
After you have nailed the hole, take the hammer off the nail. To remove the remainder of the nails, you can use a screwdriver/pry bar. To avoid splitting the wood, make sure the nail heads are not touching the board's surface.