Chatter is caused when a tool cuts a certain material at a natural frequency. There are many factors that can affect the natural frequency of a cutting tool's cut, including the cutter tooling and the toolholder. To prevent chatter, all rotating tools must be balanced. Some cases can be controlled with the help of balancing the working piece and the cutting tools. A glaze, which is a liquid suspension finely ground mineral powder that is applied to ceramicware before firing at a temperature that will cause it to be durable and resistant from warping, is called ceramic glaze.
Bow lathe chatter
The Chatter Tool for a Bow Lathe allows you to create a variety of decorative patterns when turning. The cutters made of spring steel vibrate while in use. They can be ordered with either square or hollow ends. The Sorby Chatter Tool measures 4 inches in length and is best used with dense hardwoods. Here are some ways you can prevent chatter. You should use the tool for woodworking projects involving complex curves or intricate patterns.
Robert Sorby chattertool
Robert Sorby's wood-lathe chatter tools is an effective tool for turning wooden. It can produce many decorative patterns on end grain. There are four types: convex (pointed), concave (concave), and convex (convex). It's best to use it on hardwoods because it produces finer decoration that a chisel. These cutters are made from spring steel and vibrate during use.
NOVACAM non-contact 3D metrology system
Novacam's 3D non-contact metrology system can measure chatter accurately in any part of the body, including the ID. Novacam 3D Metrology Systems can capture surfaces point by point using their innovative low-coherence technology. They can measure up to 100,000 points per second and generate over 1 million 3D measurement points. Novacam system's data capture software makes it easy automate scanning, measuring, and data analysis. You can create scanning definitions, measurement sequences and report templates in just minutes.
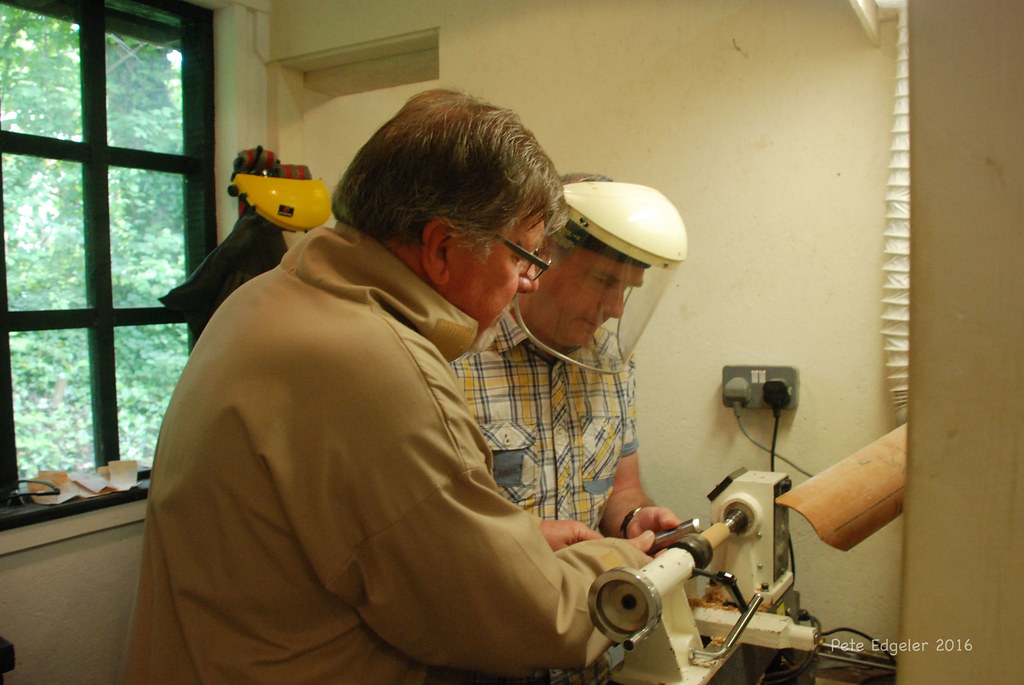
Unbalanced Lathe
If your wood lathe is experiencing chattering, you may be turning a piece that is not balanced. Chattering can be caused by many factors, including type of wood, grain direction, speed, and how fast you turn. Chattering is often caused by improper tool usage or poor balance. Always refer to the instruction manual for your lathe. Chattering could also be caused by a defective workpiece or dull cutting tools.
Locking lathe slides

A slide lock is a good way to stop wood lathe chatter. Use the appropriate tool posts to lock the slide. If the slide isn't secured, the tool can sway and produce chatter. The bolt and nut can be used to lock the post. Chatter grease can be added to the tool's support. A slide locked correctly can reduce chatter in the wood lathe as well as improve its function.
Using a chisel
A good woodwork tool is the chisel. The cutting edge needs to be razor sharp. The back should be flat. For best results, it is important to take the time necessary to sharpen chisels. Before using them, test their sharpness in softwood to determine if they're cutting smoothly. If the chisel's edge is too sharp, it will cause damage to the wood and rip the end grain.
To make wood lathe chatter, use a boring bar
Boring a boring bar to produce chatter in a wood lathe could be costly. Boring bars cost 10x more than plain steel bar and need to be held by four times their length. This will solve one problem: vibration. Use dampening devices instead if you want your lathe to produce less chatter.
FAQ
How can I determine which tools are most suitable for me?
It helps to reflect on your needs and preferences before you shop for tools. Do you prefer metal handles or plastic? What size nails and screws do you usually use? Would you rather use hand tools than power tools?
What is the main difference between plywood or particle board?
Plywood is a combination of layers of wood, which are then pressed together under high pressure. Plywood comes with a range of thicknesses, and it is most commonly used for flooring and cabinets. Particle board is made from sawdust mixed with resin and then compressed into large blocks. It is used primarily for home improvements. Both types of boards are durable and easy to cut.
What's the time taken to finish a piece furniture?
It depends on the size and condition of the furniture. You can finish smaller projects, such as boxes or picture frames, in one day. Larger projects such as tables and desks can take several days to complete. It takes time in order to properly stain or seal the wood.
Statistics
- If your lumber isn't as dry as you would like when you purchase it (over 22% in Glen Huey's opinion…probably over 10-15% in my opinion), then it's a good idea to let it acclimate to your workshop for a couple of weeks. (woodandshop.com)
- Average lumber prices rose about 600 percent between April 2020 and May 2021. (familyhandyman.com)
- Woodworkers on the lower end of that spectrum, the bottom 10% to be exact, make roughly $24,000 a year, while the top 10% makes $108,000. (zippia.com)
- The U.S. Bureau of Labor Statistics (BLS) estimates that the number of jobs for woodworkers will decline by 4% between 2019 and 2029. (indeed.com)
External Links
How To
How to join wooden boards without using nails
Woodworking is a popular hobby. Woodworking is a relaxing hobby that allows you to use your hands to create useful things from wood. However, there are times when you want to join two pieces of wood together without having to use nails. This article will show you how to do it to make your woodwork projects look great.
The first thing you'll need to do is cut off any rough edges from your pieces of wood before joining them together. Sharp corners can cause problems down the line. Now you can start gluing the boards together.
If you're working with hardwood, you should only apply glue to one side. If you're using softwoods like pine or cedar, you should put glue on both sides. Press the boards down until the glue is fully incorporated. Before you proceed to the next step, be sure to let the glue dry completely.
After you have glued the boards together, drill holes in the joints where you intend to place screws. You can choose the type of screw to determine the size of your holes. If you are going to use a half-inch wood screw, you will need to drill at least 3/4 inch deep.
Once you've drilled your holes, you'll want to drive the screws through the joint and into the backside of the board. Avoid hitting the board's top surface. Otherwise, you could ruin the finish. When driving the screws, try to avoid hitting the ends of the screws too much. This will prevent splitting the wood's end grain.
After your project is completed, you will need to protect it from the weather. You can either seal the entire piece of furniture or cover the top. Either way, you'll want to use a product that will last for years to come. Some examples include oil-based varnishes, polyurethane, shellac, lacquer, etc.
You can find these products at most home improvement stores. Just make sure that you buy the right kind for the job. Also, remember that some finishes are toxic and should never be used indoors. When handling certain finishes, wear protective gear.