
You have found the right place if you're looking for scroll saw projects. Scroll saw projects are plentiful. You can make a Santa mobile or wooden nativity. Coasters can be made with intarsia. Scroll saws make great tools for your home. These ideas will help you get the most out of your scroll saw. Remember to be careful when cutting wood.
Making a Santa mobile
You don't need to be a master at scrollsaw to make a Christmas mobile. Start by cutting out two stars. One star should have a hole in its point, and the other should be indented on the bottom. Use coiled metal to join the pieces. Paint them according to your preference. Then, you'll need to let them dry for a few days.
A wooden nativity
Make a Nativity scene for your home with this easy DIY project. The scrollsaw Nativity Template is free to download from i.pinimg.com. Simply follow the instructions for making this beautiful wooden set. The Nativity scene when completed will look fantastic in any room. This is an exceptional gift for children. This tutorial will help you build the Nativity Scene.
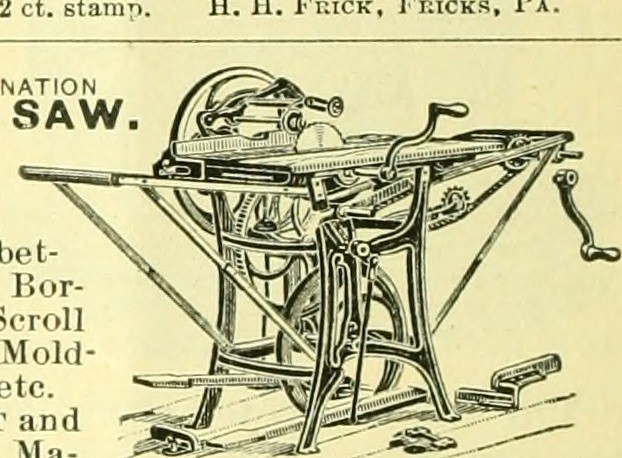
Making coasters
Scroll sawing requires a lot of skill and can make coasters difficult. Scroll Saw projects look much easier because of the intricate patterns. Just follow these steps to make your coasters. Make sure that you have enough spare time to complete the project. These are some great tips for coasters made with the Scroll Sawer. Don't forget to take patience with this project and pay close attention.
Intarsia
To make a scroll saw project a success, you must plan your cuts well and use the correct technique. First, ensure that your cut is clean. You can find intarsia patterns online if you don't know how to cut it. Scroll saws need precise measurements. It is important to examine the grain patterns and take accurate measurements before cutting. Always make sure that you are cutting squarely, so that you can see the pattern line. You can avoid scraping costly wood by using a foot switch. You can also deburr the backside of the pieces before you cut them. This will allow you to write the part number. To make the transitions smoother and prevent sharp bits from being cut off, double-sided tape is also an option.
Toppering a switch
A scroll saw can also be used to turn boring wood into an attractive change plate. The scroll saw is capable of cutting intricate patterns. It can also create complex or simple patterns. It's a good idea for beginners to start with something simple, such as a switch plate shaped like a frog. You can search for scroll saw plans online.
Making corbels
Corbels with scrollsaw projects are easy to make. This easy project will allow you to add decorative touches to your home, without spending too much. Corbels are possible for kitchens, bathrooms, and any other space. If you have some spare time, you could even make a vintage corbel. Not only will it add style to your home, it will also protect you from an income tax auditor!
Make a picture puzzle
The basic steps for making a picture puzzle with scrollsaw projects are the same as those for puzzles made with other crafts. First, you need a piece of 1 x 8 pine wood. After you've cut the piece out, you can cover the piece with painters tape or spray adhesive to make it easier to peel away. The puzzle pattern can be cut once you have completed the cutting. Spread it with your fingers and the puzzle pieces will fit together.
Make a jigsaw

You can make a jigsaw with your scroll saw if you are looking for something fun to do. Many jigsaws puzzles can be interlocked, so you can move pieces without worrying about them. In order to make a scrollsaw jigsaw, you'll need to select the pieces with matching features. If you have a specific pattern in mind you can find a jigsaw jigsaw layout online or browse for an existing one in books.
FAQ
How do I learn basic woodworking skills?
It is an excellent way to learn how to build furniture. You can make a simple bench yourself. This project can easily be done using whatever wood you have at your house. If you are unsure what type of wood is best, you can get cheap pine boards at Lowes (or Home Depot) instead. After building your bench, sand off any rough edges and apply a stain or varnish.
What kind and type of wood should i use?
The most popular types of wood used in woodworking include oak, pine, birch, maple, cherry, mahogany, teak, poplar, redwood, and bamboo. Each wood type has its own characteristics which affect the final product's appearance and feel. Oak is a darker wood and tends to be more durable than other types. Birch is lightweight and soft while mahogany is heavier and denser. You also have the option of solid wood or veneers. Veneers are thin sheets or wood that are glued together into one layer.
Which wooden items are very popular?
The most successful wooden items are made from sustainable wood.
Oak, cherry and mahogany are the most sought-after wood types for furniture.
These woods are strong and durable, with beautiful grain patterns. If they are well cared for, they can last many years.
To protect wooden furniture from moisture damage, you should paint it first. This applies to all surfaces including drawers, doors, handles, and handles.
Paint that is water-resistant will ensure furniture lasts for a long time.
Use a high-quality, oil-based primer and two coats of topcoat. Depending on how often it will be worn, you may need to apply several coats.
Spray cans or aerosol paints should be avoided. These products contain solvents that evaporate quickly and leave behind harmful fumes.
What time does it take for furniture to be finished?
It all depends on how large the furniture is. Boxes and picture frames are small projects that can be completed in one day. Larger projects, like desks or dining tables require several days. It takes time to stain and seal the wood properly.
Is it possible to learn woodworking by yourself?
You can learn everything best by doing. Woodworking is an intricate art form that requires practice, skill, patience, and experience. Every craft takes practice and patience.
It is the best way to learn to do something is to actually do it. Start small and learn from your mistakes.
Statistics
- Woodworkers on the lower end of that spectrum, the bottom 10% to be exact, make roughly $24,000 a year, while the top 10% makes $108,000. (zippia.com)
- Average lumber prices rose about 600 percent between April 2020 and May 2021. (familyhandyman.com)
- Most woodworkers agree that lumber moisture needs to be under 10% for building furniture. (woodandshop.com)
- The best-paid 10 percent make $76,000, while the lowest-paid 10 percent make $34,000. (zippia.com)
External Links
How To
How to drive a nails in wood
First, choose the right size and type of tool to drive a nail through wood. There are many types of hammers that you will find: claw hammers and sledgehammers; mallets; ball peen hammers; and hatchets. Each kind of hammer has its own advantages and disadvantages. A claw hammer is best for hitting nails or hard objects. However, it can be difficult to pinpoint exactly where the blow will land. A sledgehammer is great for hitting large areas at once, but it's too heavy to use effectively for smaller tasks.
After choosing the right hammer, place your hand flat against the side of the head so that the handle rests comfortably in your palm. Grab the handle tightly, but do not squeeze too hard. Your wrist should be relaxed while you hold the hammer straight upwards. You should then swing the hammer straight up, keeping your wrist relaxed. You should feel the impact from the hammer striking a nail. If you're having trouble getting the hang of swinging a hammer, practice with a block of wood until you get the rhythm down.
When you're ready to start driving the nail, hold the hammer in front of you close to your body. Place the nail so that it is perpendicular with the wood's surface. Keep your eyes focused directly on the tip of the nail. Swing your hammer forward. Then follow through with the motions of the hammerhead. This can be repeated several times to increase the speed of your swing. After mastering the technique, you can add power to your swings. To make it more powerful, hold the hammer up high to your shoulder and then bring it down. You will be able to use more energy and put your best foot forward.
Once you've nailed the first hole, remove the hammer from the nail. To remove the remainder of the nails, you can use a screwdriver/pry bar. To avoid splitting the wood, make sure the nail heads are not touching the board's surface.